![]()


Twilio is a cloud based communication company that enables users to use standard web languages to build voice, VoIP, and SMS apps via a web API. Twilio provides a simple hosted API and markup language for businesses to quickly build scalable, reliable and advanced voice and SMS communications applications. Twilio based telephony infrastructure enable web programmer to integrate real time phone call, SMS or VOIP to their application.
Mulesoft provides cloud connector to integrate Twilio Api within Mulesoft. Mulesoft Cloud connector provides a simple and easy way to integrate with these Twilio APIs, and then use them as services within Mulesoft. Mulesoft-Twilio connector provides a platform for developer to develop and integrate their application easily and quickly with Twilio.
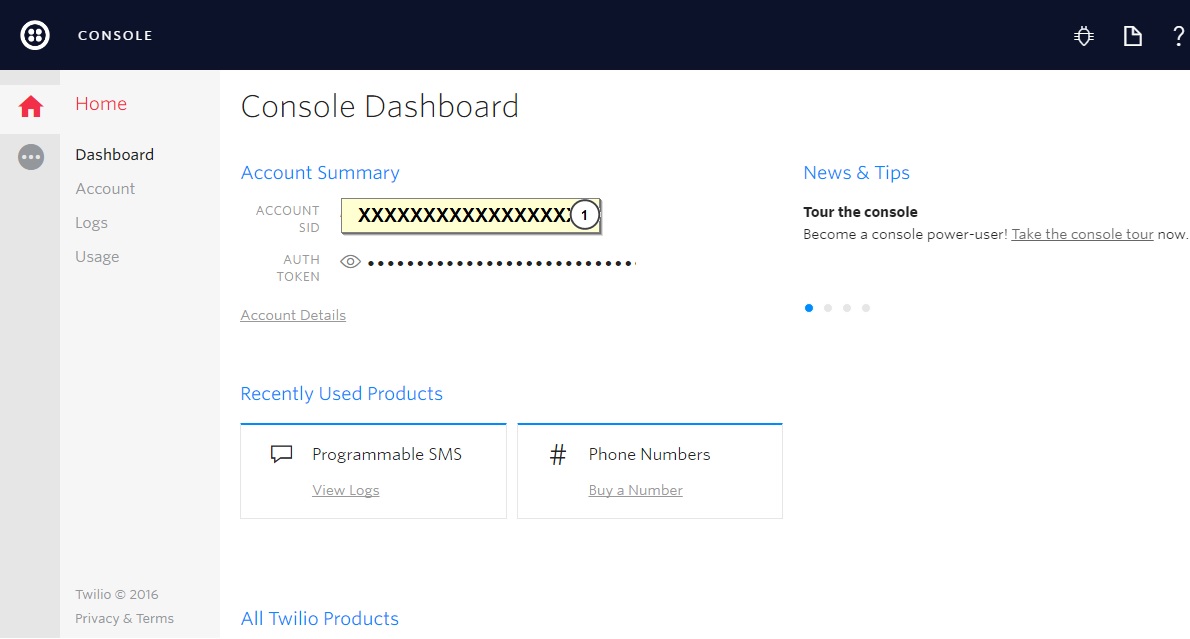
Before start integration of Mulesoft with Twilio, create your Twilio account and get “ACCOUNT SID” and “AUTH TOKEN”.
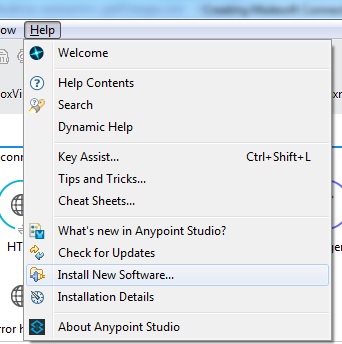
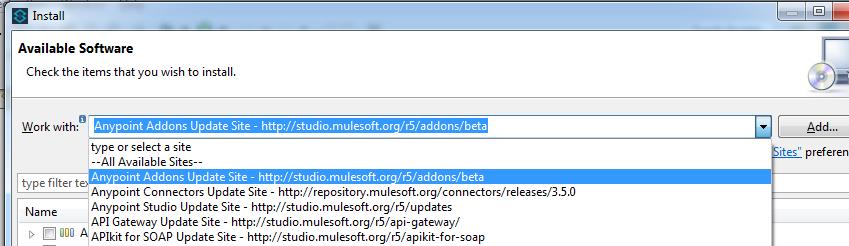
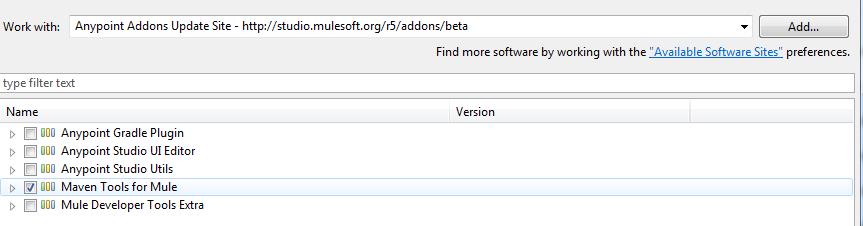
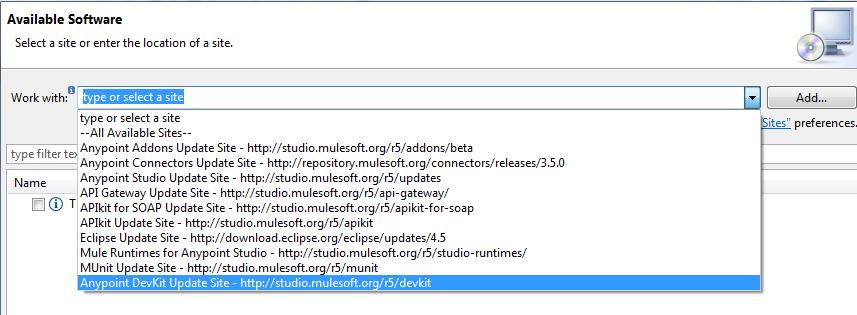
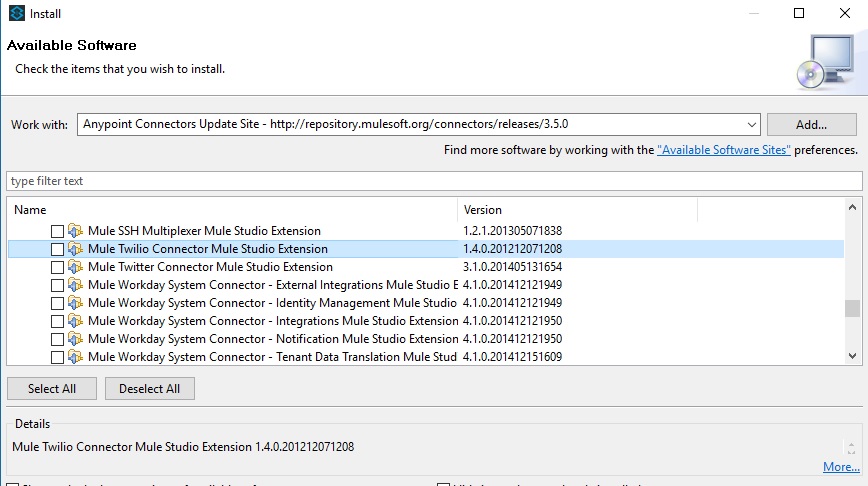
Now download and install Twilio connector into Anypoint studio.
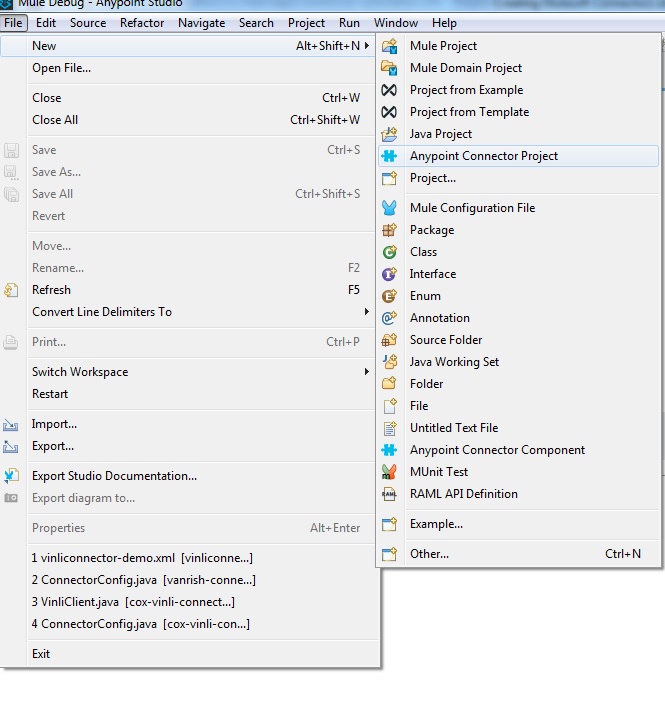
Anypoint Studio –>Help –>Install New Software
Configure pom.xml to pull Twilio jar dependency in maven based project.
Add plugin in plugin section and dependency in pom.xml file. This section will also add into pom.xml file when Twilio connector drag into AnypointStudio canvas and use it into flow.
<plugin>
   <groupId>org.mule.tools.maven</groupId>
<artifactId>mule-app-maven-plugin</artifactId>
<version>${mule.tools.version}</version>
<extensions>true</extensions>
<configuration>
<copyToAppsDirectory>true</copyToAppsDirectory>
<inclusions>
<inclusion>
<groupId>org.mule.modules</groupId>
<artifactId>mule-module-apikit</artifactId>
</inclusion>
        <inclusion>
                   <groupId>org.mule.modules</groupId>
                   <artifactId>mule-module-twilio</artifactId>
         </inclusion>
     </inclusions>
</configuration>
</plugin>
Dependency tag
<dependency>
<groupId>org.mule.modules</groupId>
<artifactId>mule-module-twilio</artifactId>
<version>1.4</version>
</dependency>
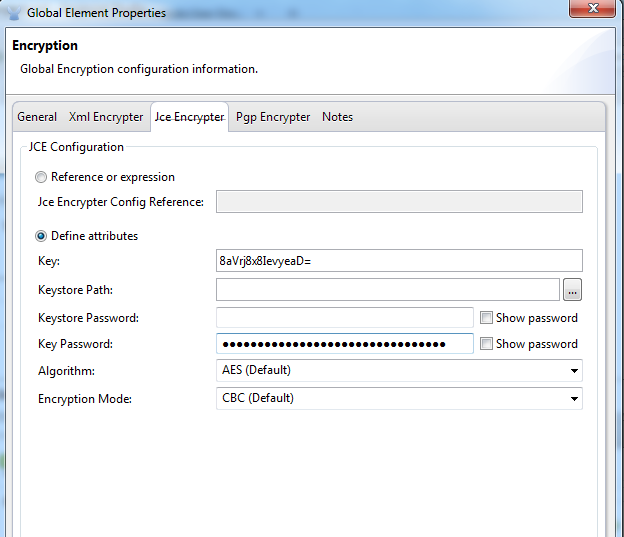
Now configure Twilio Global Elements to connect your application with Twilio into Mule-config.xml file
<twilio:config name="Twilio" accountSid="${TwilioSID}" authToken="${TwilioAuthToken}" doc:name="Twilio">
<twilio:http-callback-config />
</twilio:config>
In above code TwilioSID and TwilioAuthToken are coming from Twilio account.
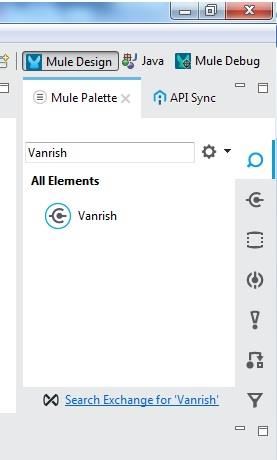
Mulesoft Twilio connector provides a number of methods to integrate with your application. Below image show some of methods expose by Mulesoft-Twilio connector.
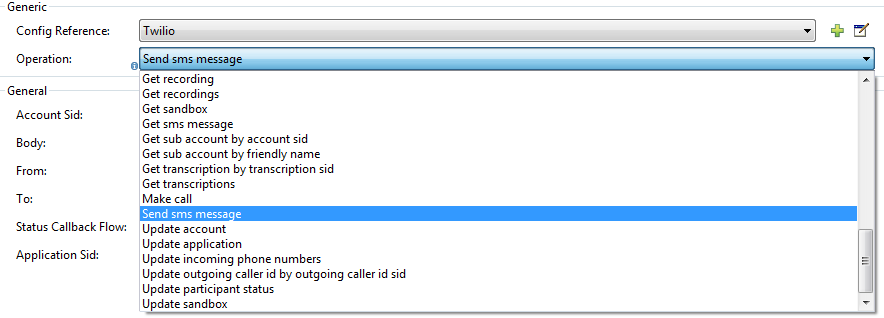
I am using “send SMS message” method form Mulesoft-Twilio connector for my example.
Now you can integrate Twilio to send SMS with your application. Here is example code.
<logger message="#[payload.recipientPhoneNumber]" level="INFO" doc:name="Logger"/>
<twilio:send-sms-message config-ref="Twilio" accountSid="${TwilioSID}" body="Hello World Sending SMS from Twilio" from="+15555555555" to="#[payload.recipientPhoneNumber]" doc:name="Twilio"/>
Twilio API does not support bulk SMS for recipient. So, to initiate messages to a list of recipients, you must make a request for each number to which you would like to send a message. The best way to do this is to build an array of the recipients and iterate through each phone number.
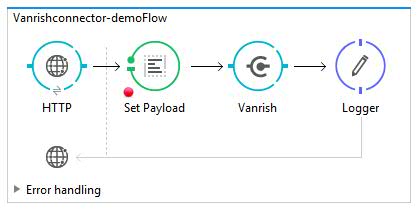
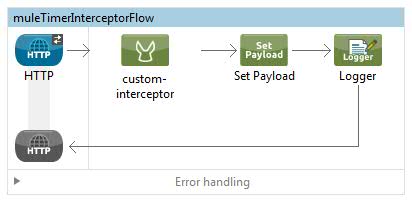
Here is small flow for Twilio integration.
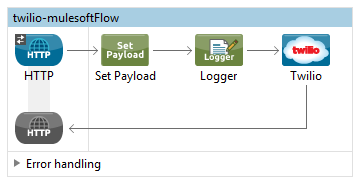
Code for this flow.
<?xml version="1.0" encoding="UTF-8"?>
<mule xmlns:twilio="https://www.mulesoft.org/schema/mule/twilio" xmlns:http="https://www.mulesoft.org/schema/mule/http" xmlns="https://www.mulesoft.org/schema/mule/core" xmlns:doc="https://www.mulesoft.org/schema/mule/documentation"
xmlns:spring="https://www.springframework.org/schema/beans"
xmlns:xsi="https://www.w3.org/2001/XMLSchema-instance"
xsi:schemaLocation="https://www.springframework.org/schema/beans https://www.springframework.org/schema/beans/spring-beans-current.xsd
https://www.mulesoft.org/schema/mule/core https://www.mulesoft.org/schema/mule/core/current/mule.xsd
https://www.mulesoft.org/schema/mule/http https://www.mulesoft.org/schema/mule/http/current/mule-http.xsd
https://www.mulesoft.org/schema/mule/twilio https://www.mulesoft.org/schema/mule/twilio/current/mule-twilio.xsd">

<http:listener-config name="HTTP_Listener_Configuration" host="0.0.0.0" port="8081" doc:name="HTTP Listener Configuration"/>
<twilio:config name="Twilio" accountSid="${TwilioSID}" authToken="${TwilioAuthToken}" doc:name="Twilio">
    <twilio:http-callback-config />
</twilio:config>
  <flow name="twilio-mulesoftFlow">
     <http:listener config-ref="HTTP_Listener_Configuration" path="/twilio" doc:name="HTTP"/>
     <set-payload value="" doc:name="Set Payload"/>
     <logger message="#[payload.recipientPhoneNumber]" level="INFO" doc:name="Logger"/>
     <twilio:send-sms-message config-ref="Twilio" acc#[payload.recipientPhoneNumber]: #339966;">${TwilioSID}" body="#[payload]" from="+15555555555" to="+12222222222" doc:name="Twilio"/>
  </flow>
</mule>
If you are getting exception, make sure twilio-mulesoft jar is in classpath and properly configured.
Rajnish Kumar, the CTO of Vanrish Technology, brings over 25 years of experience across various industries and technologies. He has been recognized with the “AI Advocate and MuleSoft Community Influencer Award” from the Salesforce/MuleSoft Community, showcasing his dedication to advancing technology. Rajnish is actively involved as a MuleSoft Mentor/Meetup leader, demonstrating his commitment to sharing knowledge and fostering growth in the tech community.
His passion for innovation shines through in his work, particularly in cutting-edge areas such as APIs, the Internet Of Things (IOT), Artificial Intelligence (AI) ecosystem, and Cybersecurity. Rajnish actively engages with audiences on platforms like Salesforce Dreamforce, World Tour, Podcasts, and other avenues, where he shares his insights and expertise to assist customers on their digital transformation journey.