
Mulesoft connector is the backbone of mulesoft flow. It receives or sends messages between Mule and one or more external sources, such as files, databases, or Web services. It also acts as message sources by working as inbound endpoints, they can act as a message processor that performs an operation in middle of a flow, or they can fall at the end of a flow and act as the recipient of the final payload data.
Mulesoft connectors are either endpoint-based or operation-based. Endpoint-based follow one-way or request-response exchange patterns. Operation-based connectors are based on information exchange pattern.
There are number of connector available in anypoint studio but some time the connector available is not able to satisfy company specific requirement. Own connector is a good option to explore whether we need a connector with a specific functionality or want to connect to a system without a pre-built connector.
If you are building your own connector you need to setup your development environment inside your mulesoft anypoint studio.
Make sure you enable maven configuration inside your anypoint studio and install Devkit for Mulesoft connector
1. Installation and Configuration of Maven
Steps to enable Maven setting inside Anypoint studio.
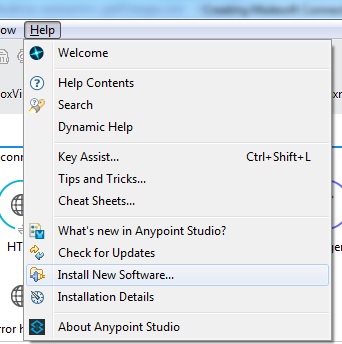
a) Studio –>Help –> Install New Software
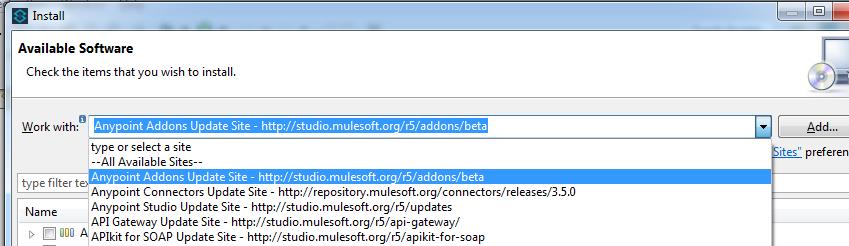
b) In Available Software window
Work with –>Anypoint Addons Update Site
c) Now you need to select Maven Tools for Mule
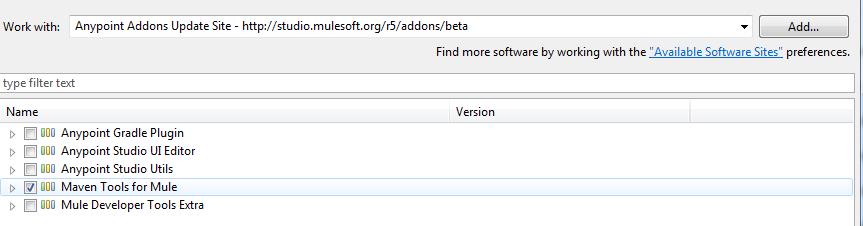
d) Click Next button and Then Finish.
This will install maven plugin into your Anypoint studio
Validate your maven plugin installation
Got to Window –> Preferences
you can find maven link under Anypoint Studio tab
configure maven in your Anypoint studio
set maven installation directory and enter your maven command
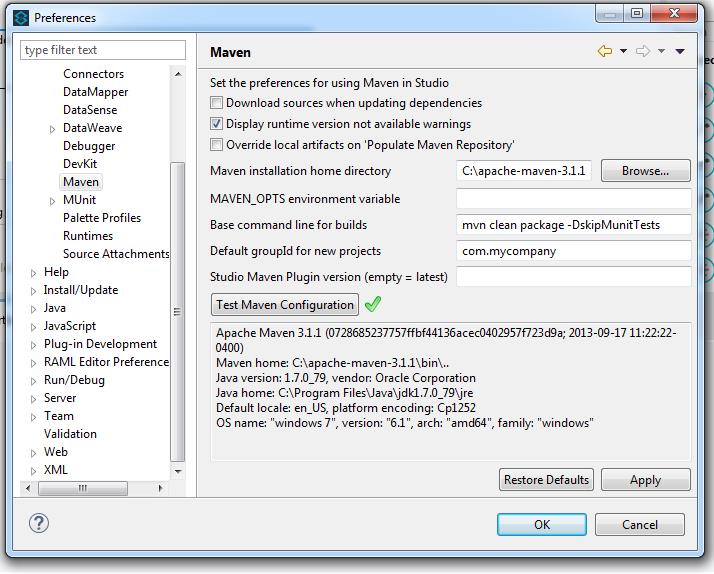
Click Test Maven configuration. You will get green check. Now you all set for maven configuration
2. Installation of Anypoint Devkit Plugin
Steps to get Anypoint DevKit Plugin
a) Studio –>Help –>Install New Software
b) In Available Software window Please select Anypoint DevKit Update site
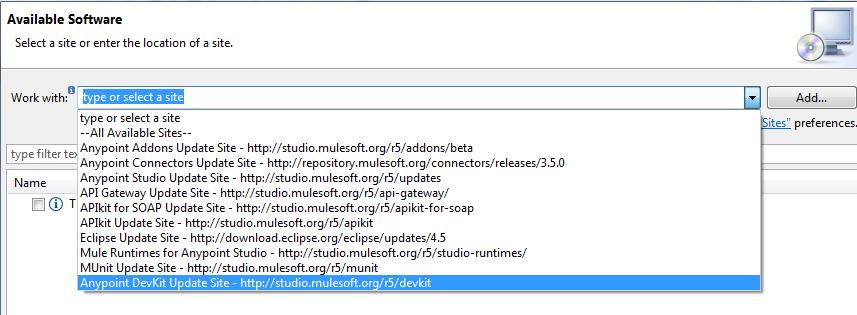
c) Now you need to select Anypoint Devkit Plugin

d) Click Next button and Then Finsh.
This will install Anypoint Devkit Plugin into your Anypoint studio
Validate your Devkit plugin installation
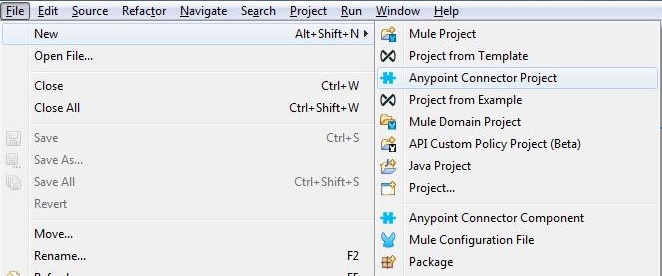
Go to File — New in Anypoint studio
You will find two new options for Anypoint Connector
a) Anypoint Connector Project
b)Anypoint Connector Component
Now you all set to develop your own connector.
In my next blog I will write how to build and deploy your own connector.
Rajnish Kumar is CTO of Vanrish Technology with Over 25 years experience in different industries and technology. He is very passionate about innovation and latest technology like APIs, IOT (Internet Of Things), Artificial Intelligence (AI) ecosystem and Cybersecurity. He present his idea in different platforms and help customer to their digital transformation journey.
please i need an url to get the devkit plugin